a-comprehensive-guide-on-how-to-safely-jump-start-your-vehicle News
Latest news and articles about a-comprehensive-guide-on-how-to-safely-jump-start-your-vehicle
a-comprehensive-guide-on-how-to-safely-jump-start-your-vehicle News
Latest news and articles about a-comprehensive-guide-on-how-to-safely-jump-start-your-vehicle
Search: "a-comprehensive-guide-on-how-to-safely-jump-start-your-vehicle"
3799 articles • Page 1 of 190

Maruti Suzuki Kharkhoda Plant Inaugurated: 800 Acres, Rs 35,000 Crore Investment, 10 Lakh Unit Plan
Read More
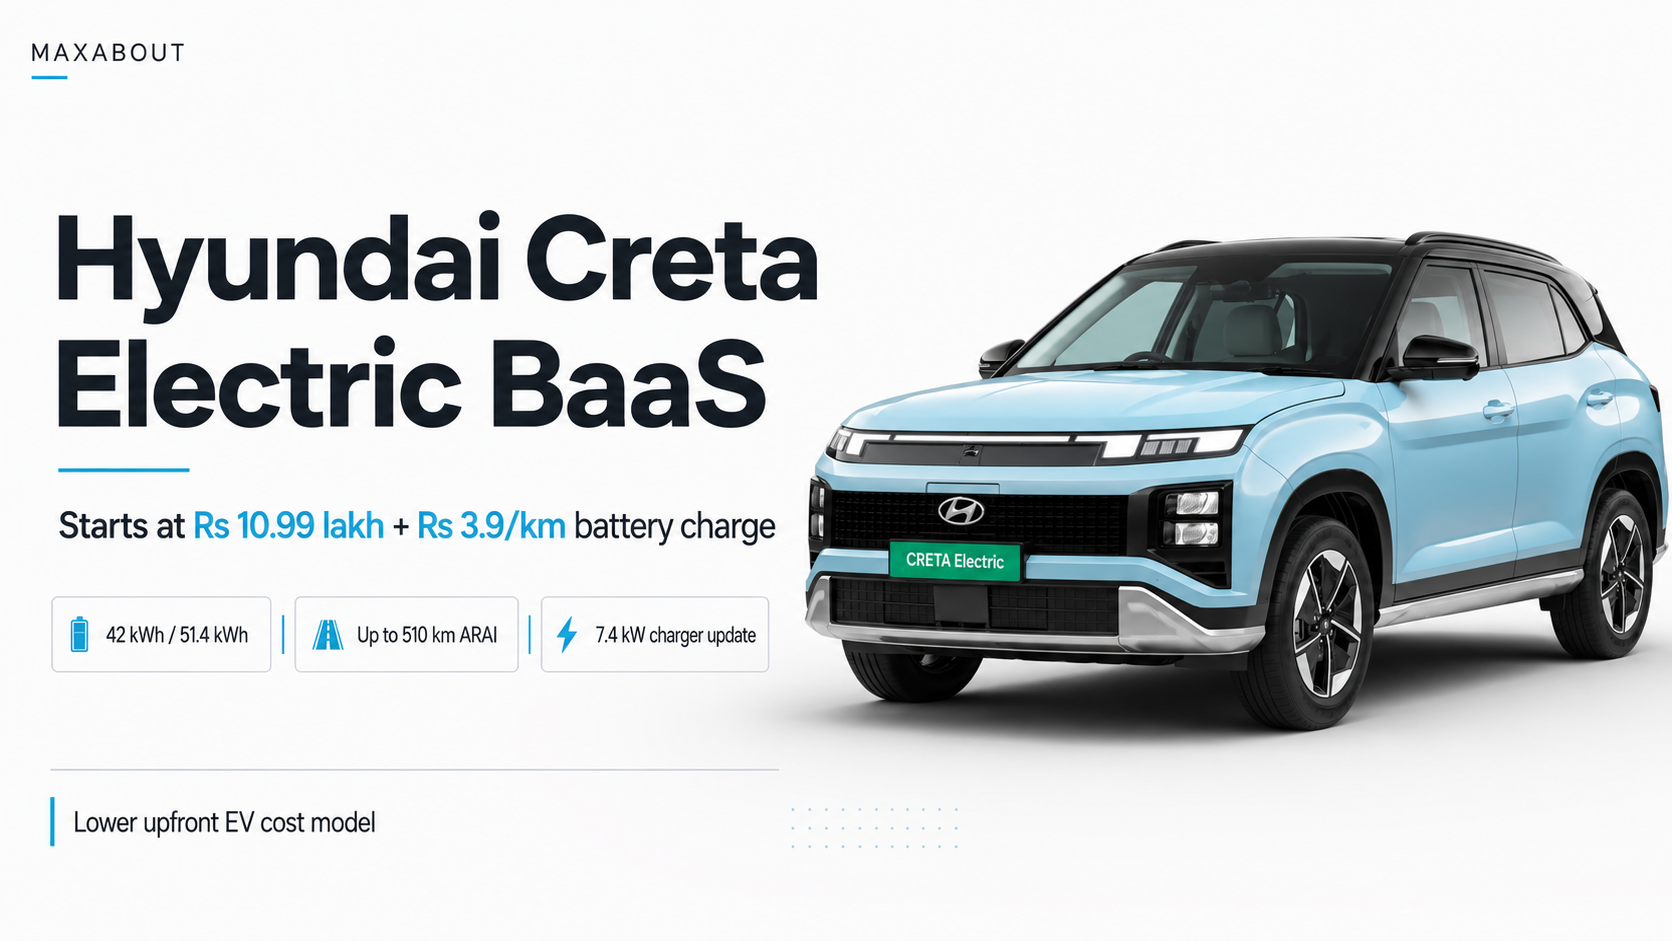
Hyundai Creta Electric BaaS Starts At Rs 10.99 Lakh: What Changes For EV Buyers
Read More
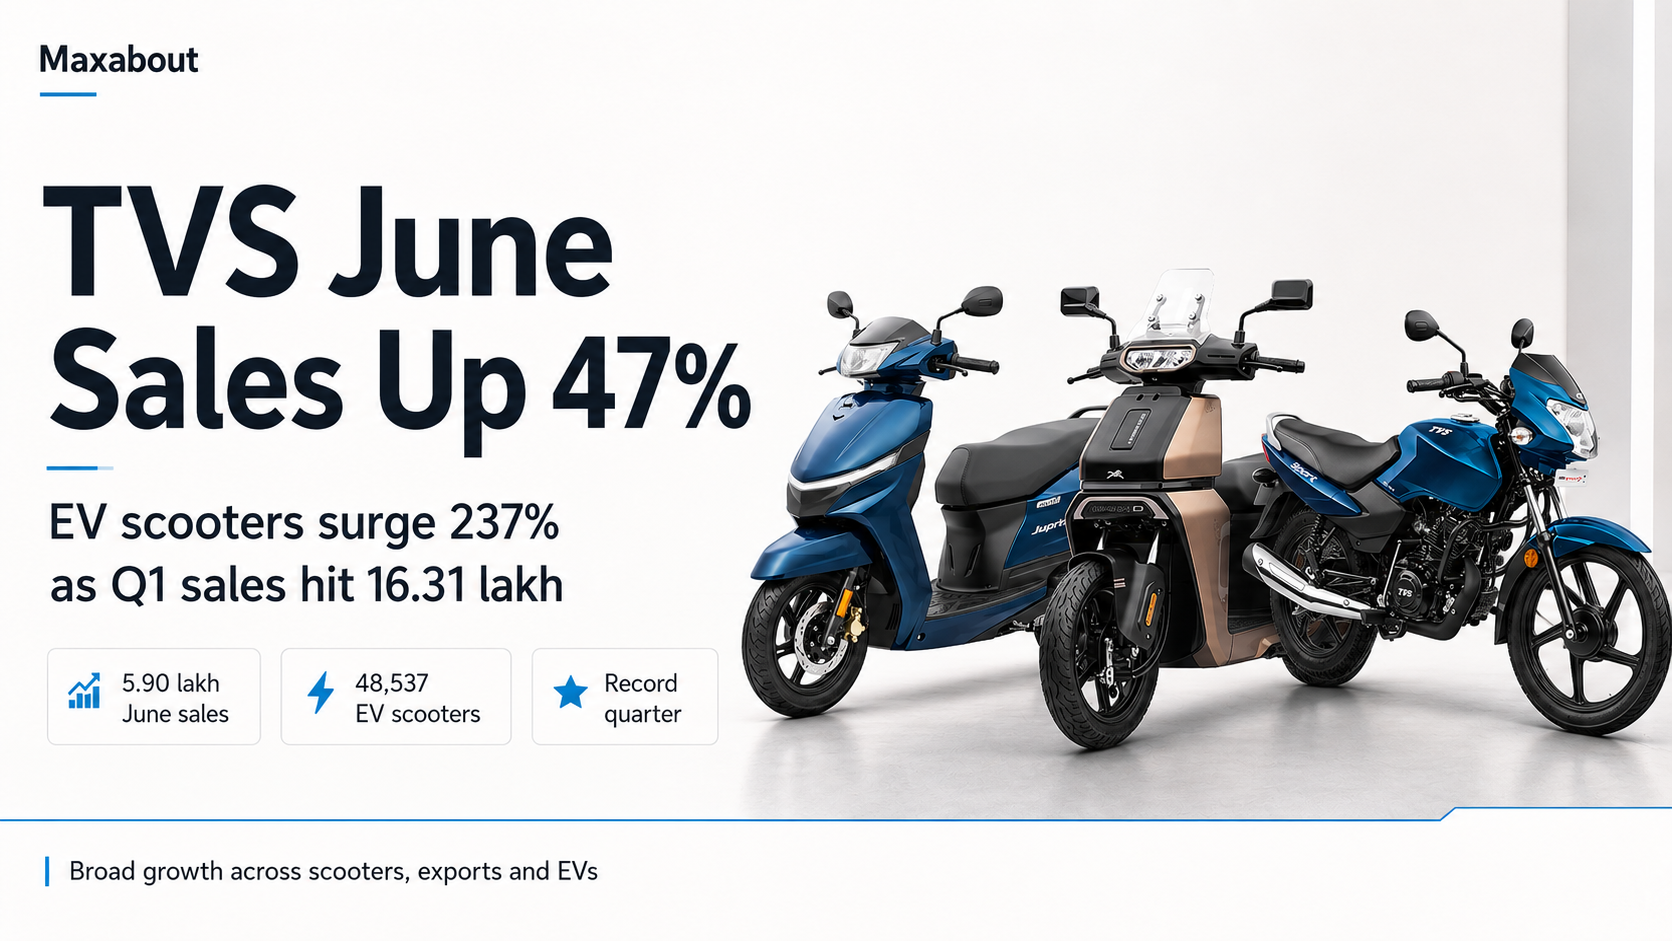
TVS June 2026 Sales Jump 47 Percent As EV Scooters Surge 237 Percent
Read More

Honda Cars June 2026 Sales: Exports Surge 600 Percent As Domestic Sales Grow
Read More
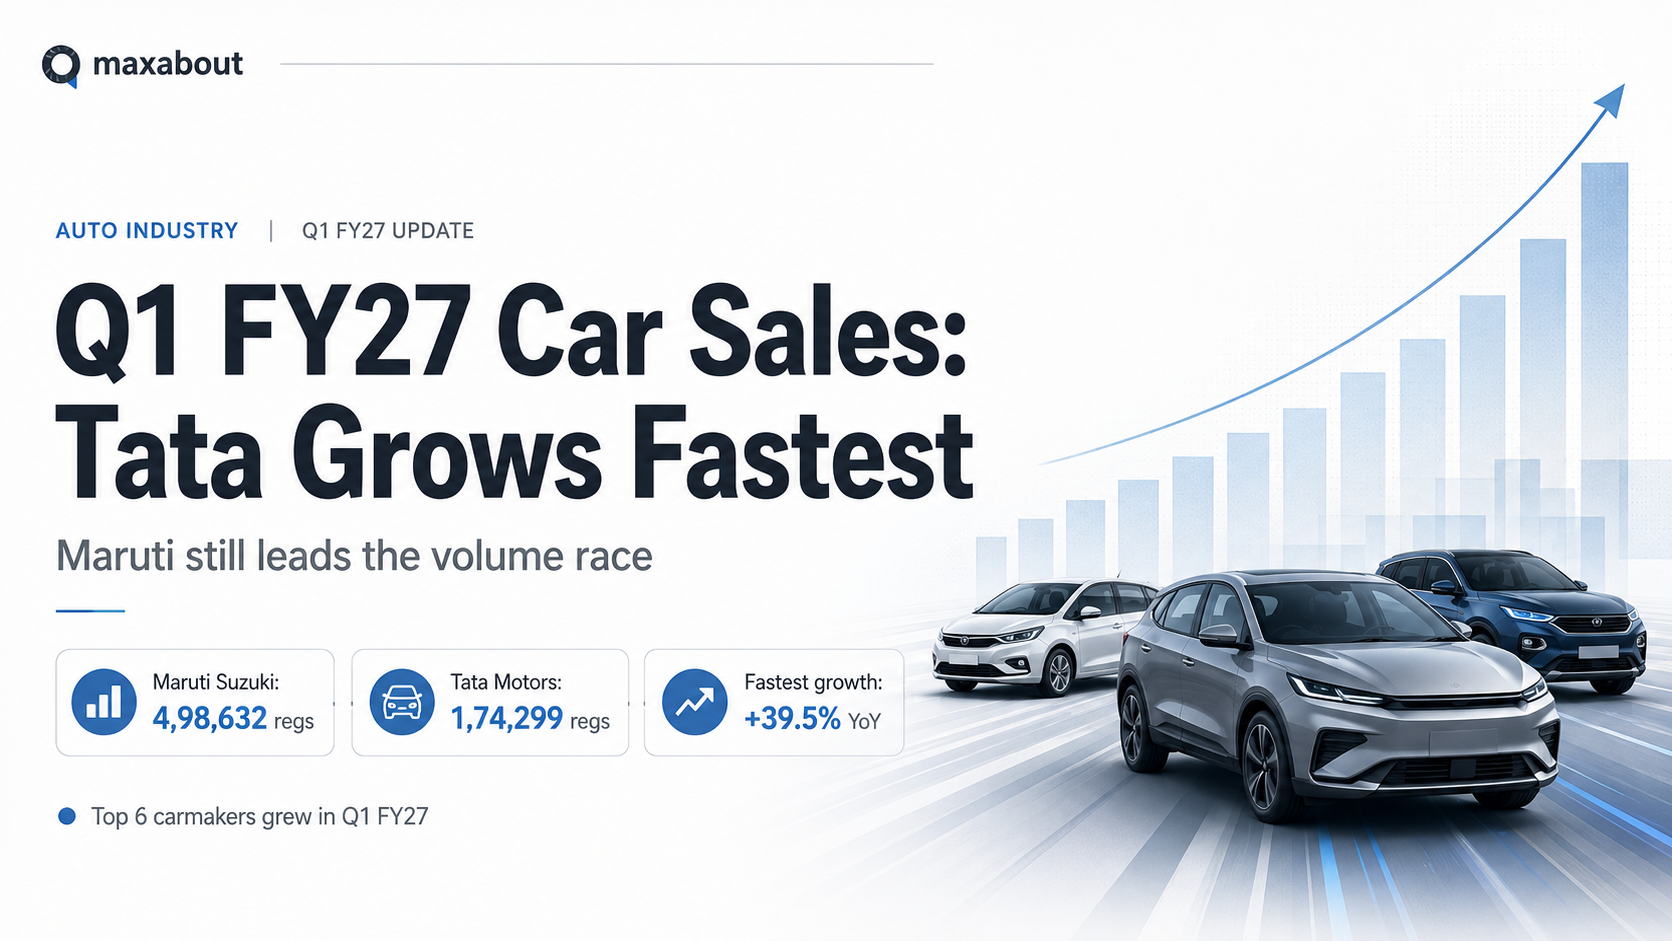
Q1 FY27 Car Sales Report: Maruti Suzuki and Tata Motors Lead Growth Among Top 6 Brands
Read More
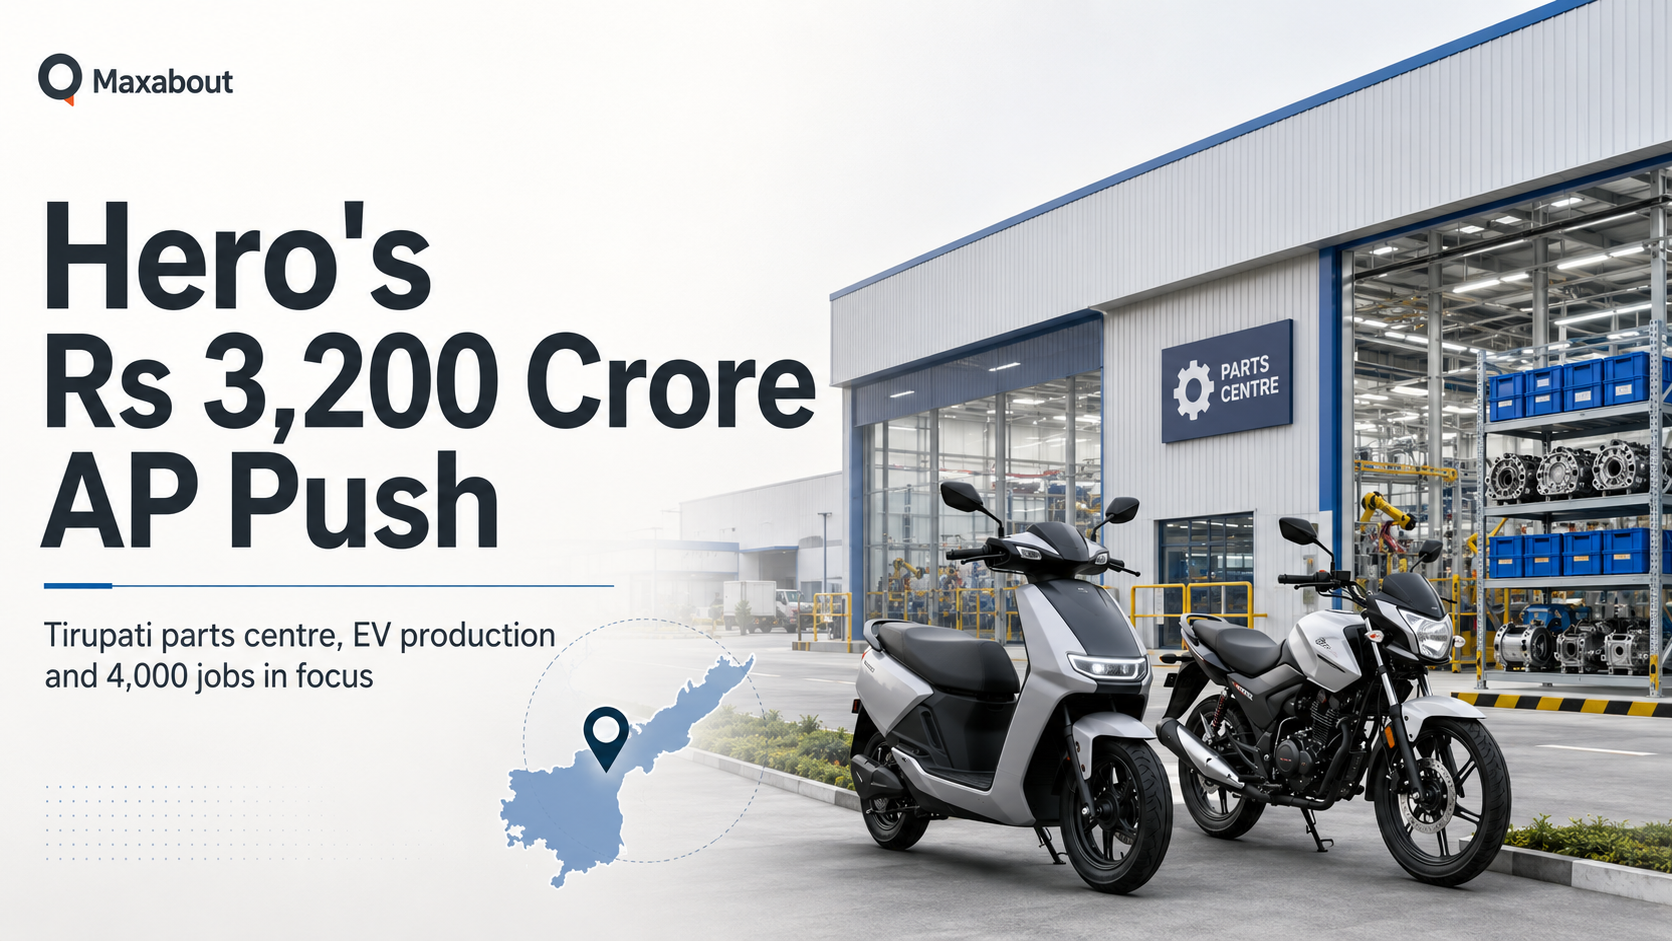
Hero MotoCorp to Invest Over Rs 3,200 Crore in Andhra Pradesh, Tirupati EV and Parts Hub in Focus
Read More
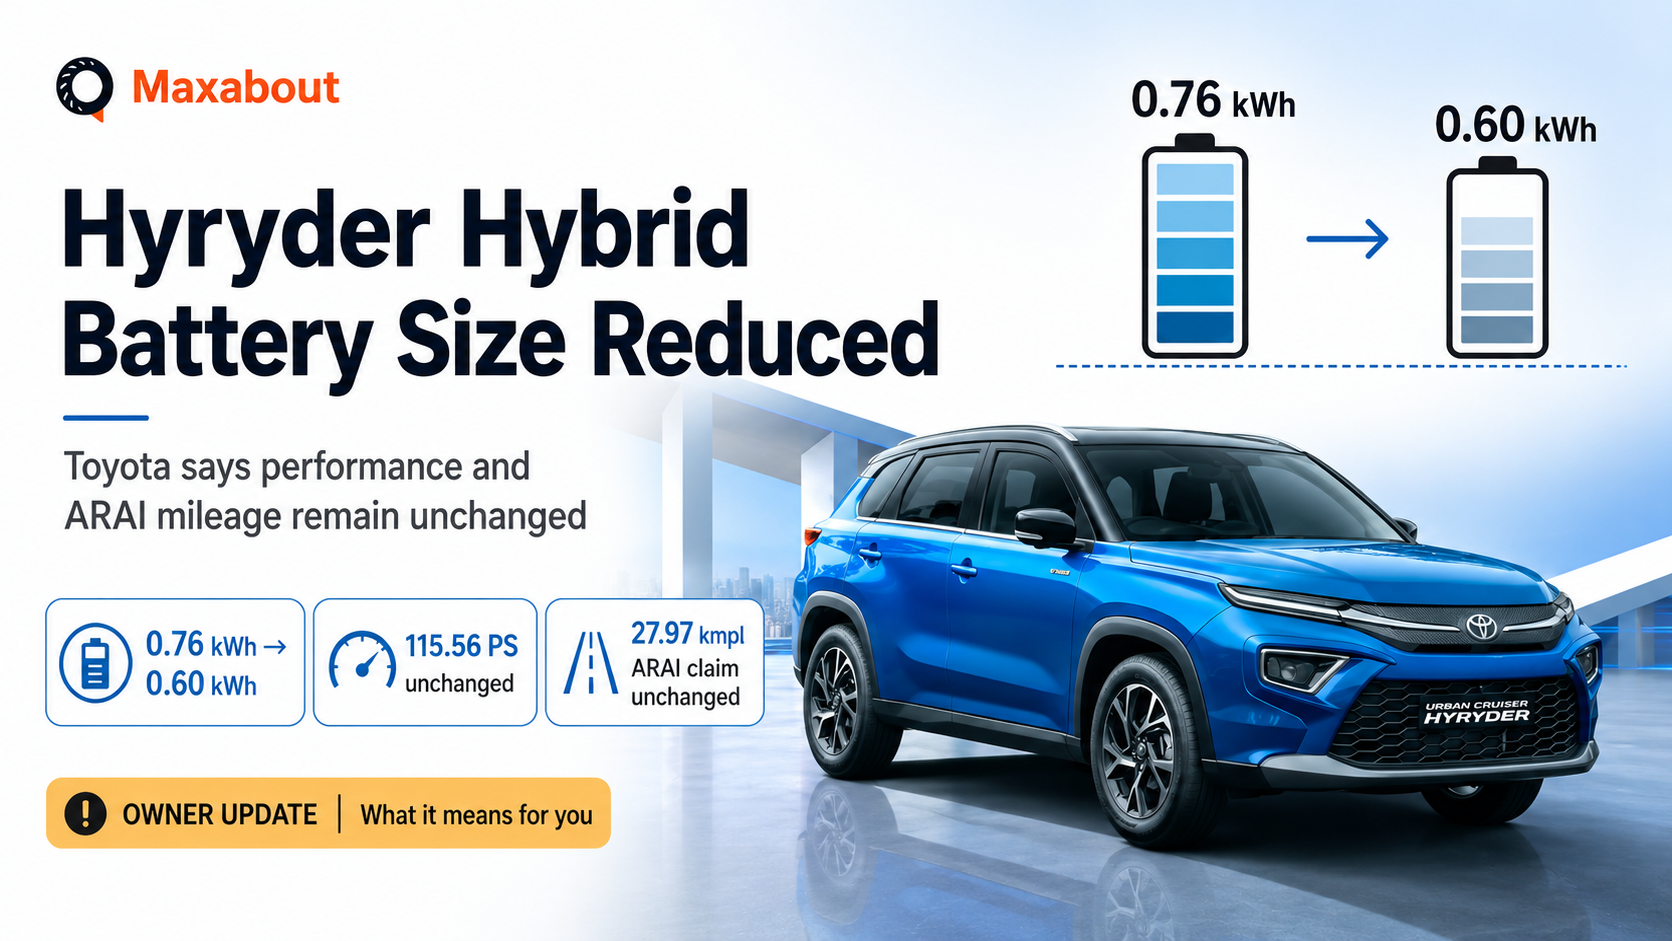
Toyota Hyryder Strong Hybrid Battery Size Reduced, Company Says Mileage and Performance Are Unchanged
Read More
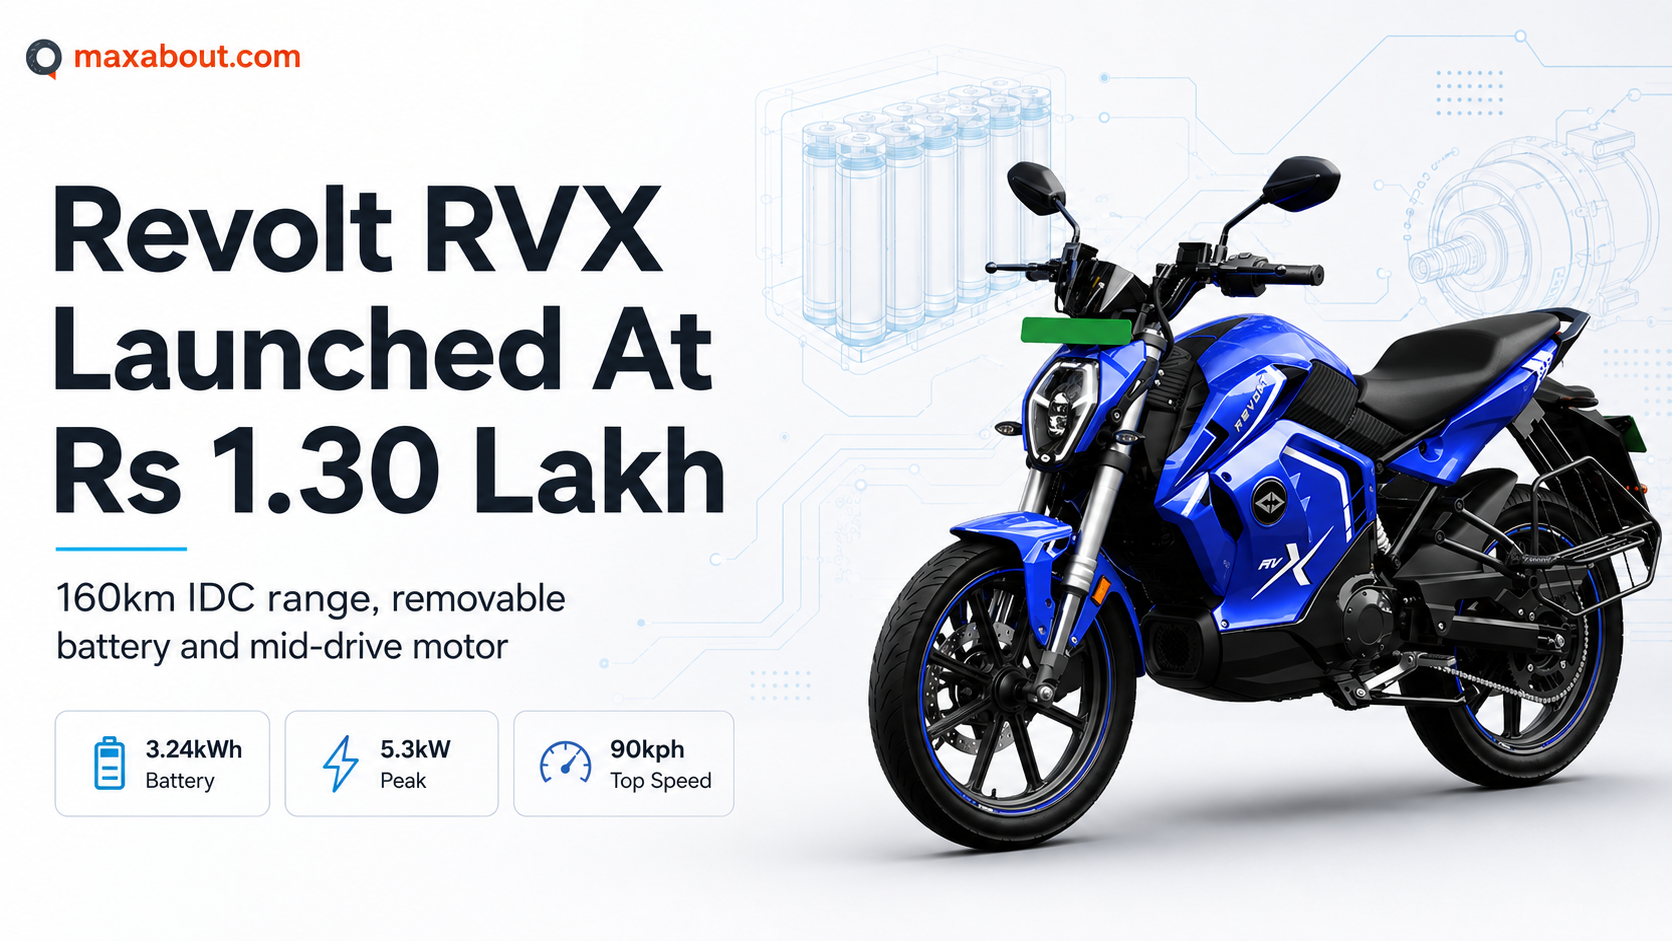
Revolt RVX Electric Motorcycle Launched at Rs 1.30 Lakh With 160km IDC Range Claim
Read More
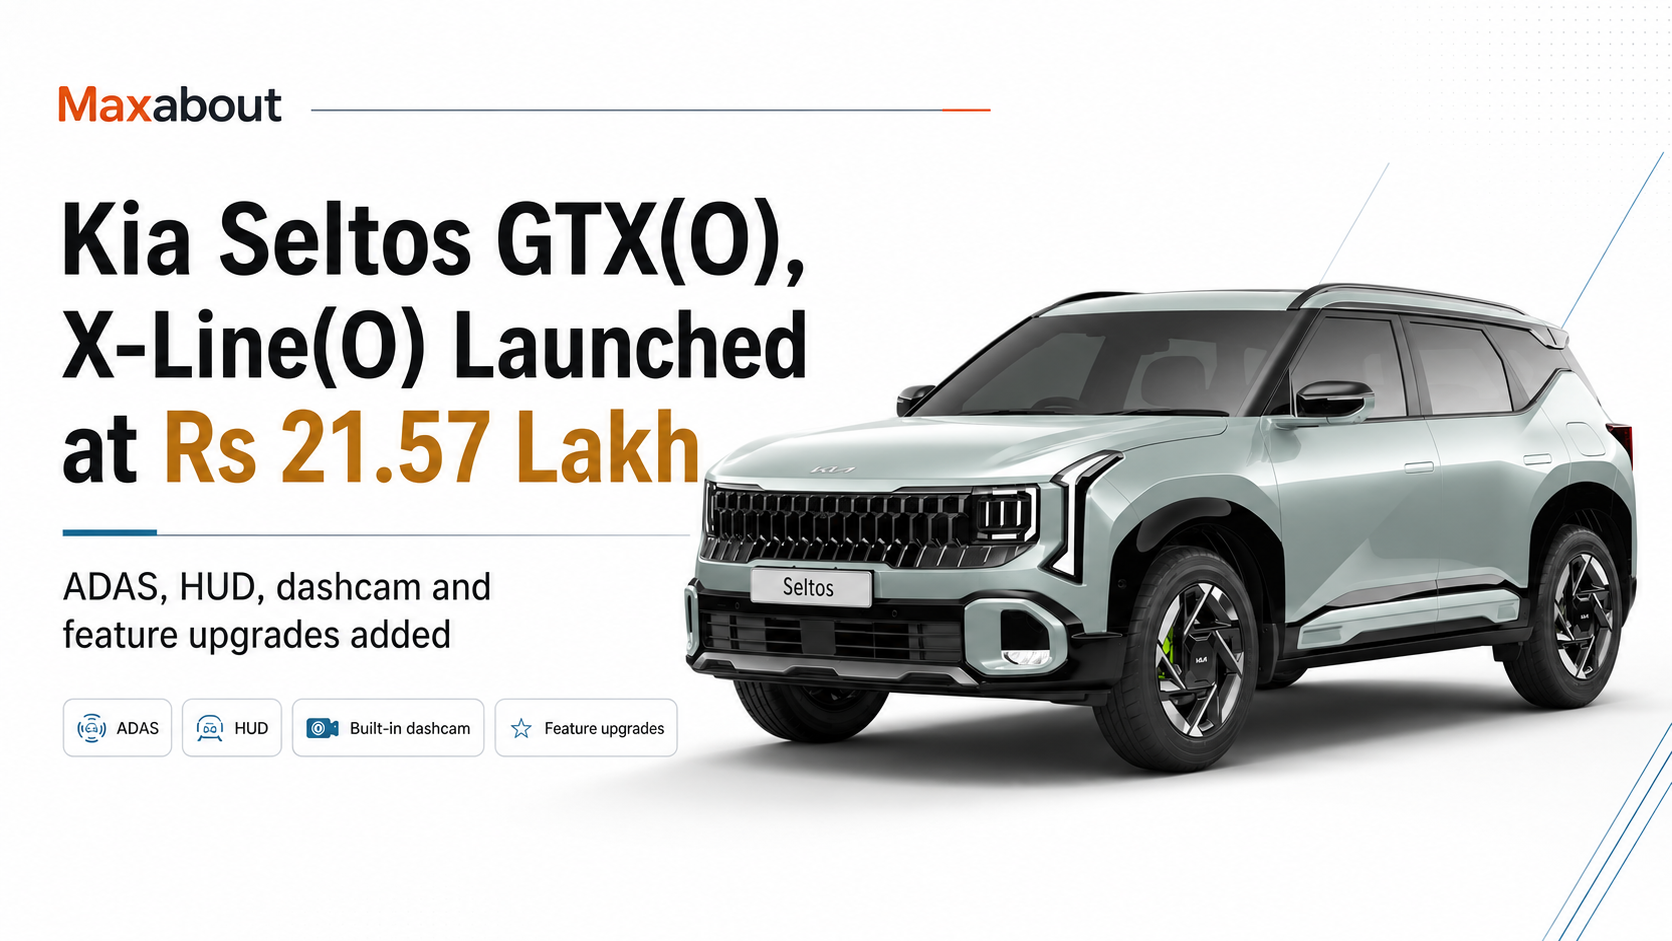
Kia Seltos GTX(O) and X-Line(O) Variants Launched at ₹21.57 Lakh: Price, Specs & What’s New
Read More
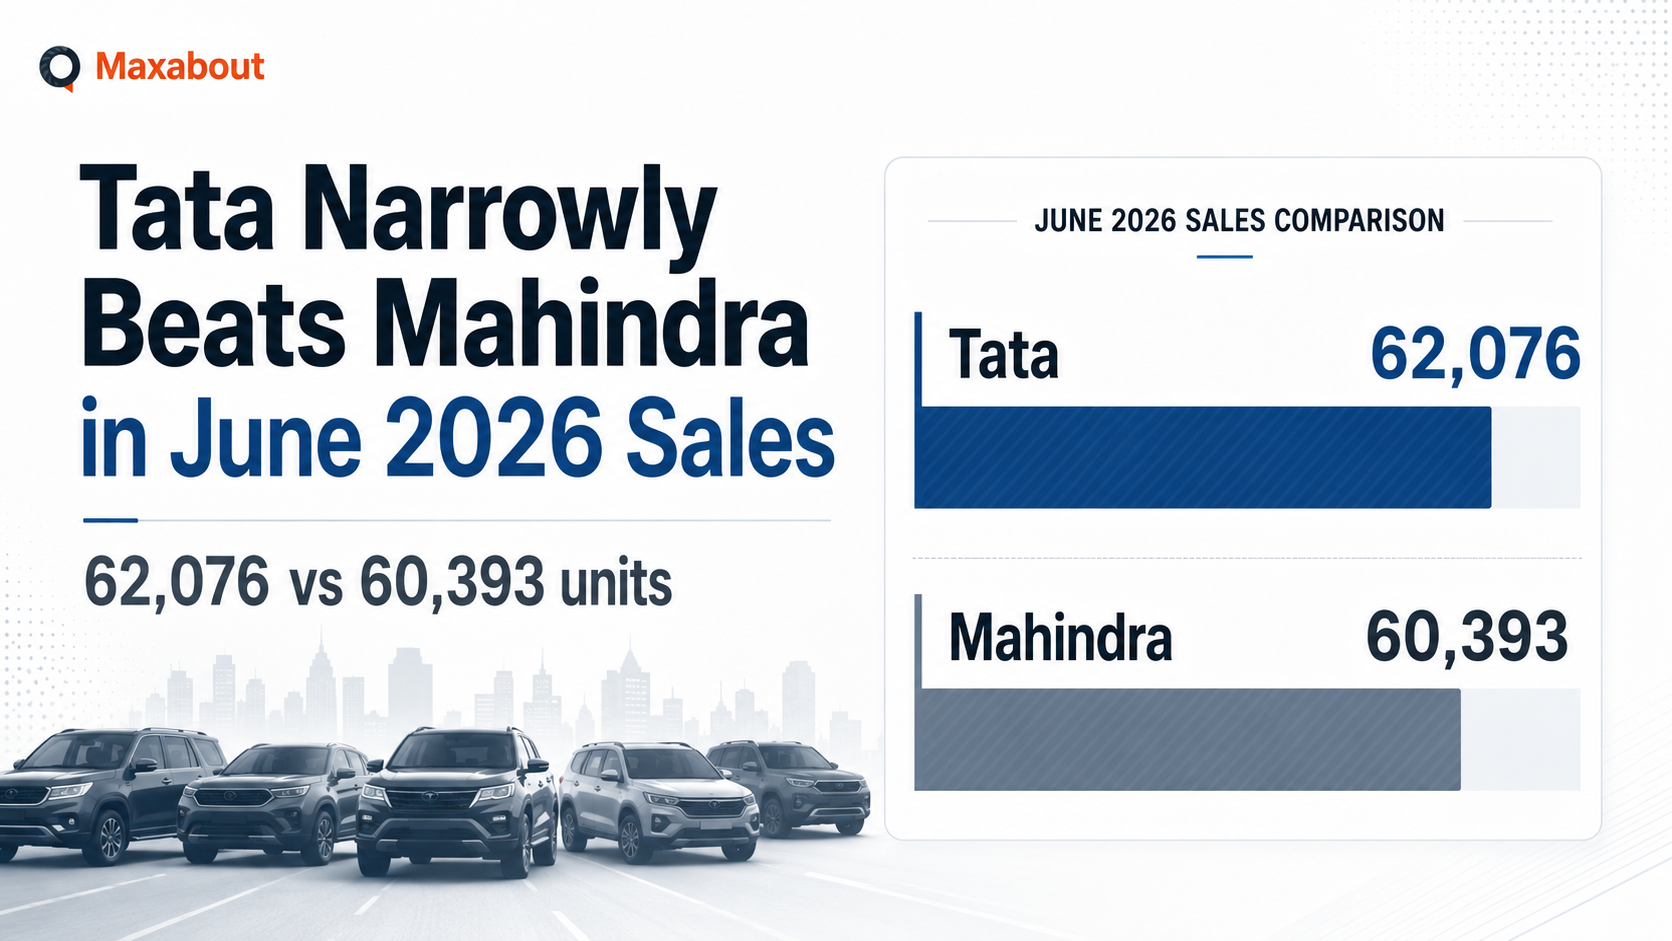
June 2026 Car Sales: Tata Motors Holds Off Mahindra to Retain 2nd Spot
Read More
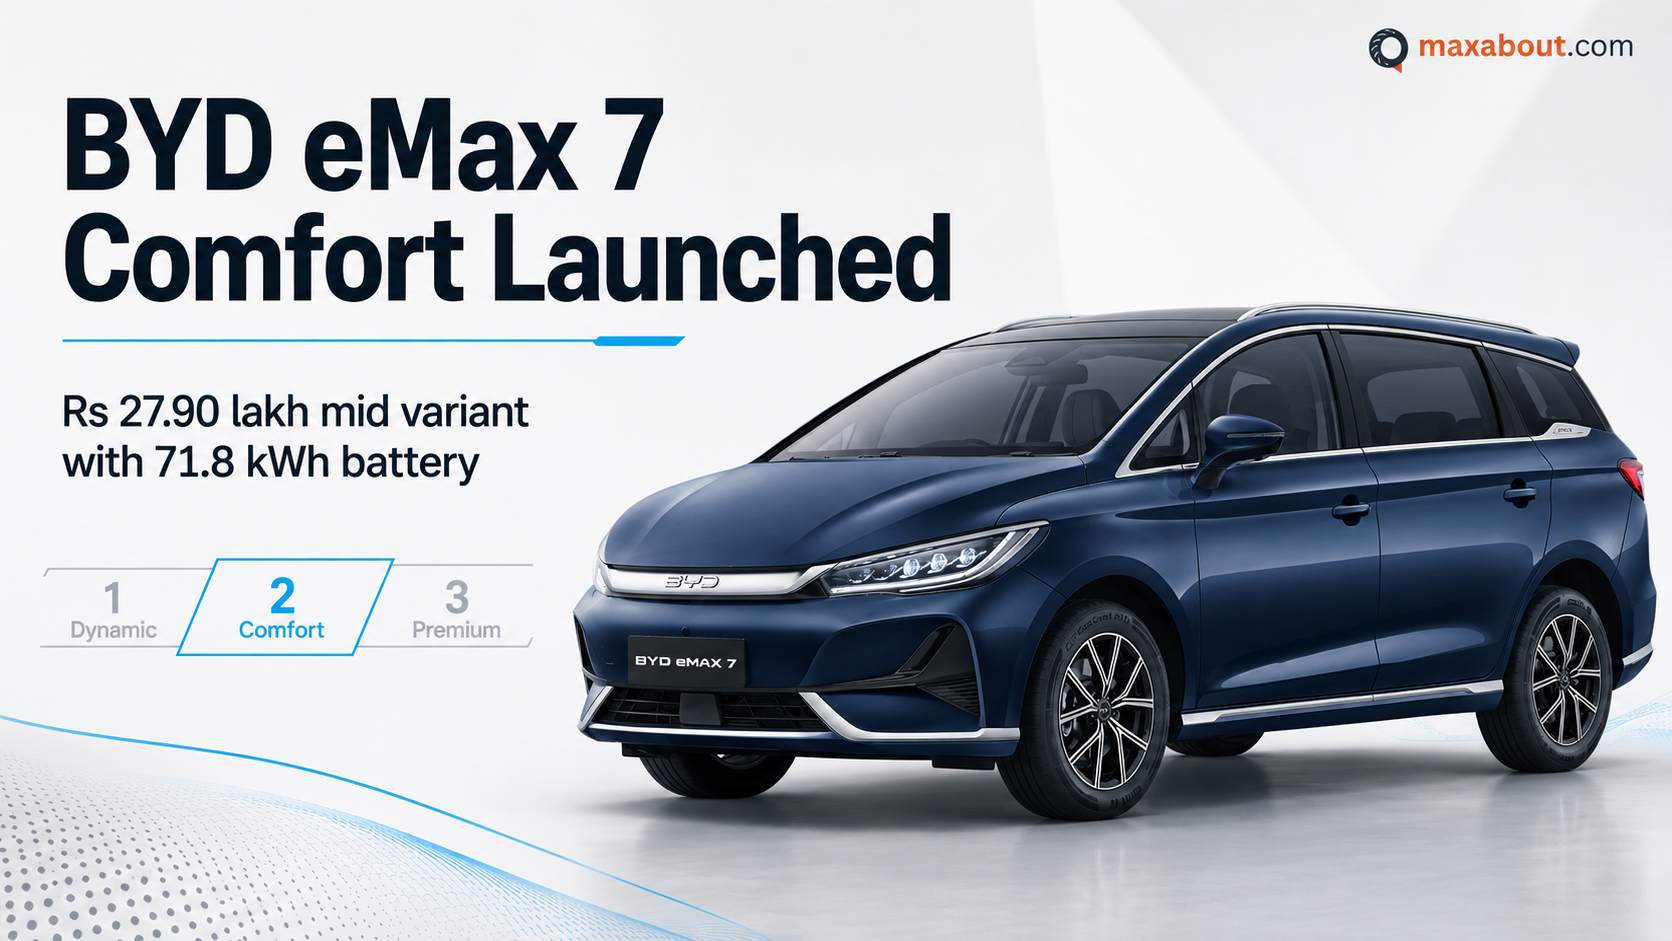
BYD eMax 7 Comfort Variant Launched at Rs 27.90 Lakh With 71.8 kWh Battery
Read More
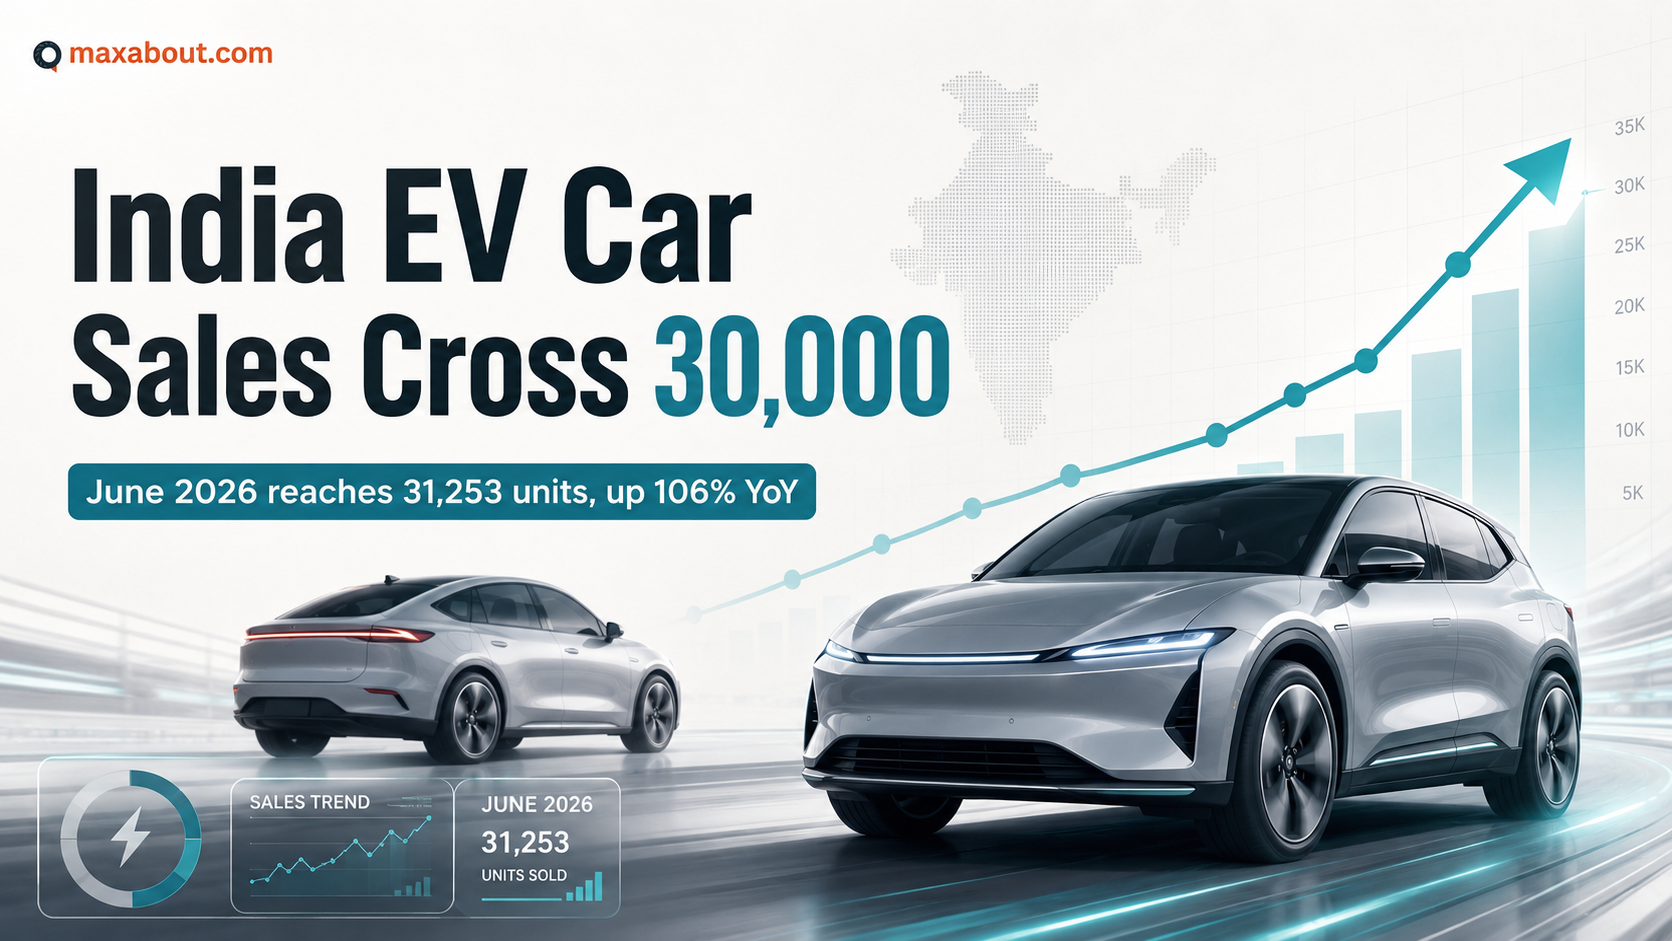
India EV Car Sales Cross 30,000 Units for First Time in June 2026
Read More
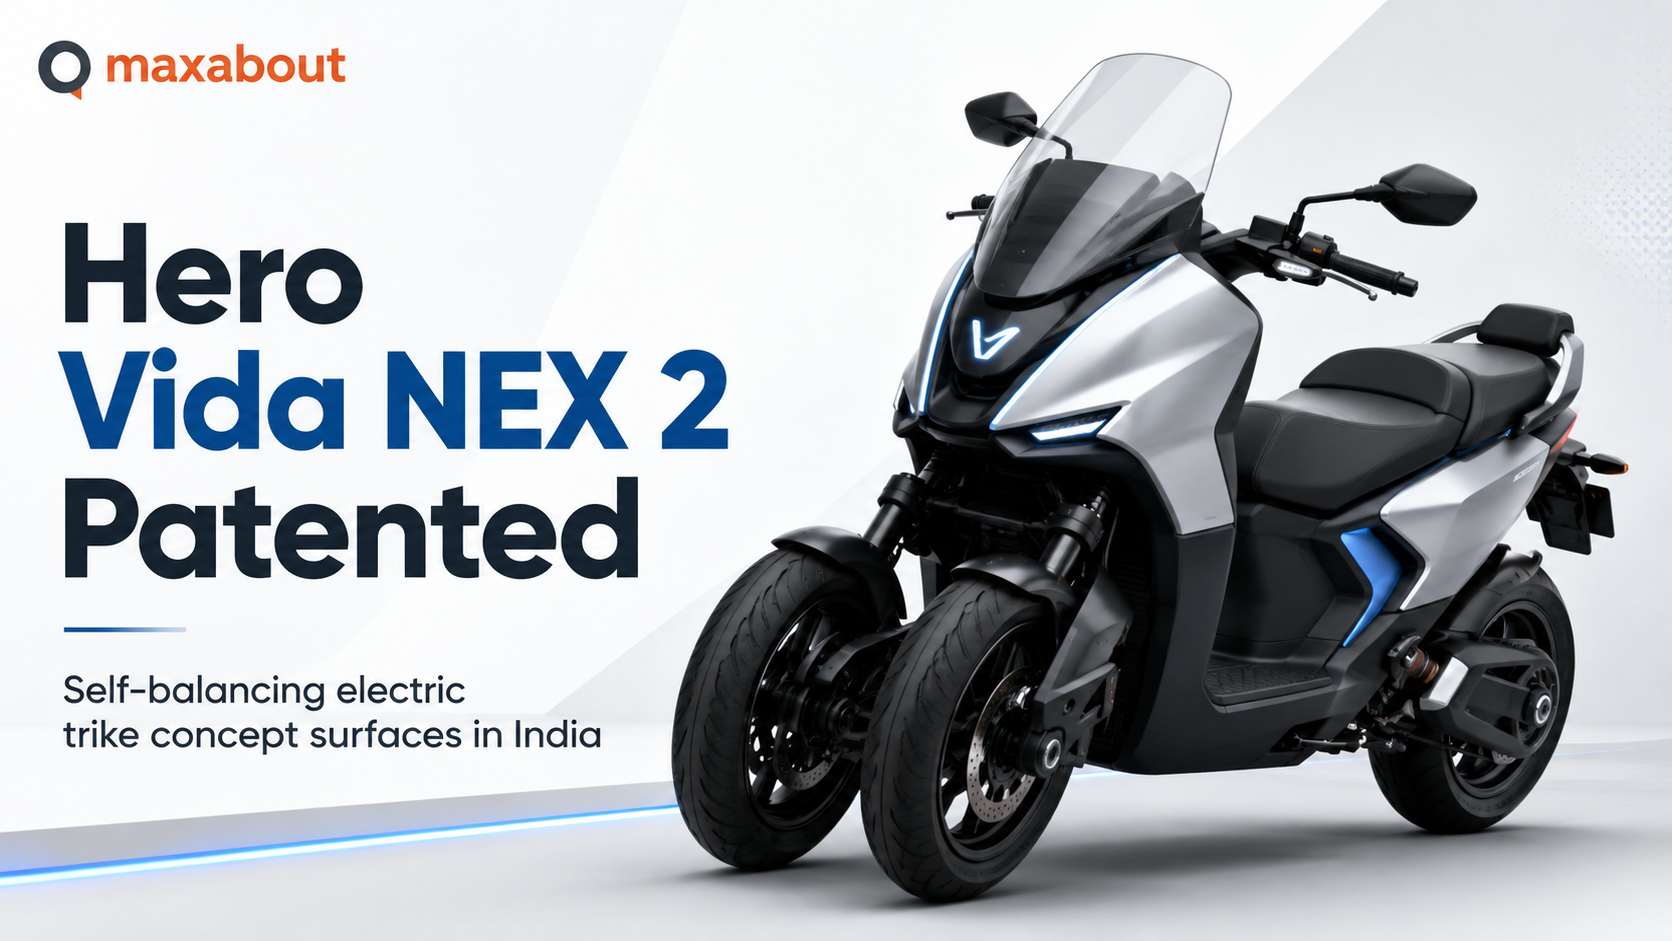
Hero Vida NEX 2 Patent Shows A Self-Balancing Electric Trike Concept
Read More
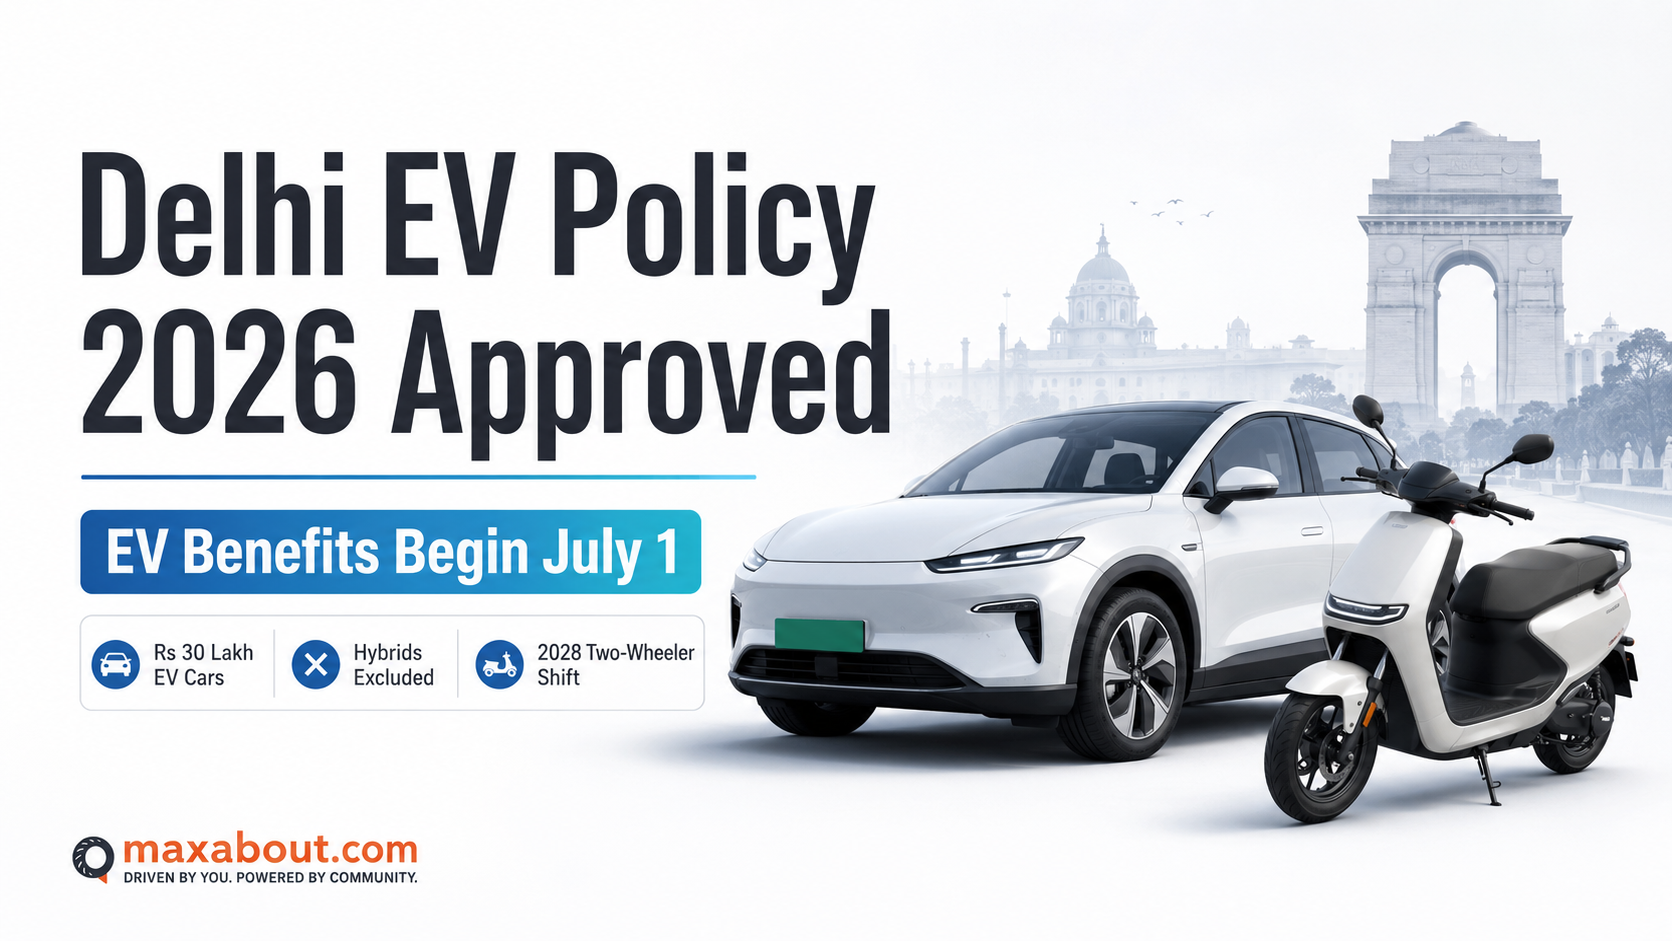
Delhi EV Policy 2026 Approved: EV Car Tax Breaks, Hybrid Exclusion and Two-Wheeler Shift Explained
Read More
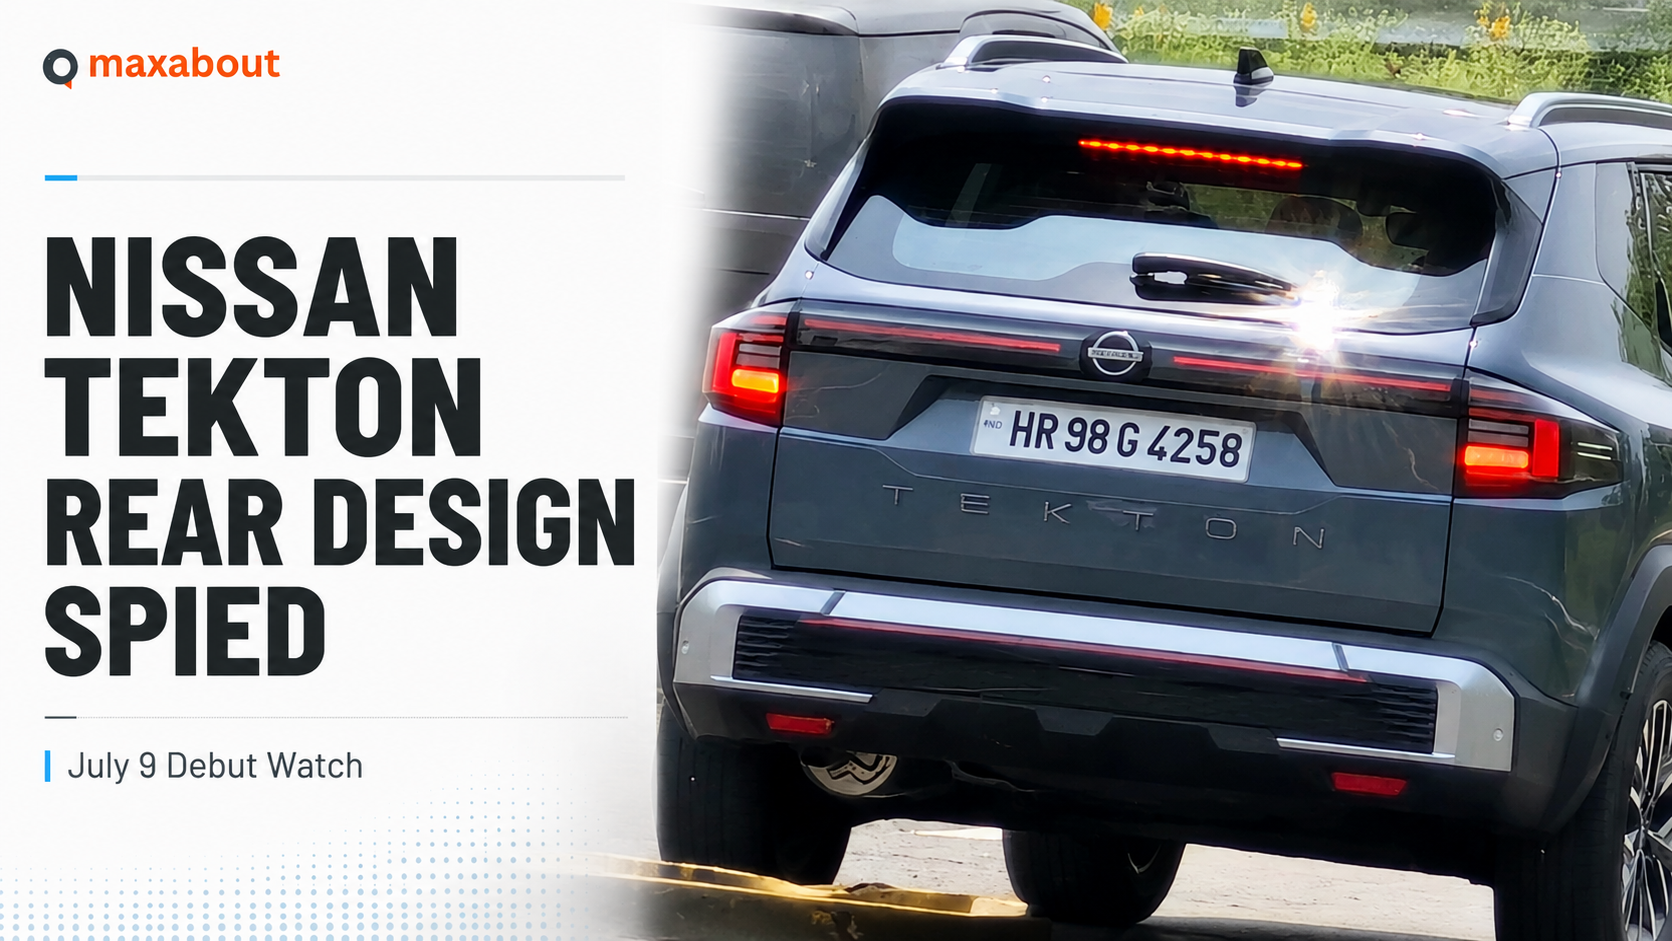
Nissan Tekton Rear Design Spied Before July 9 Debut: What the Duster Sibling Reveals
Read More
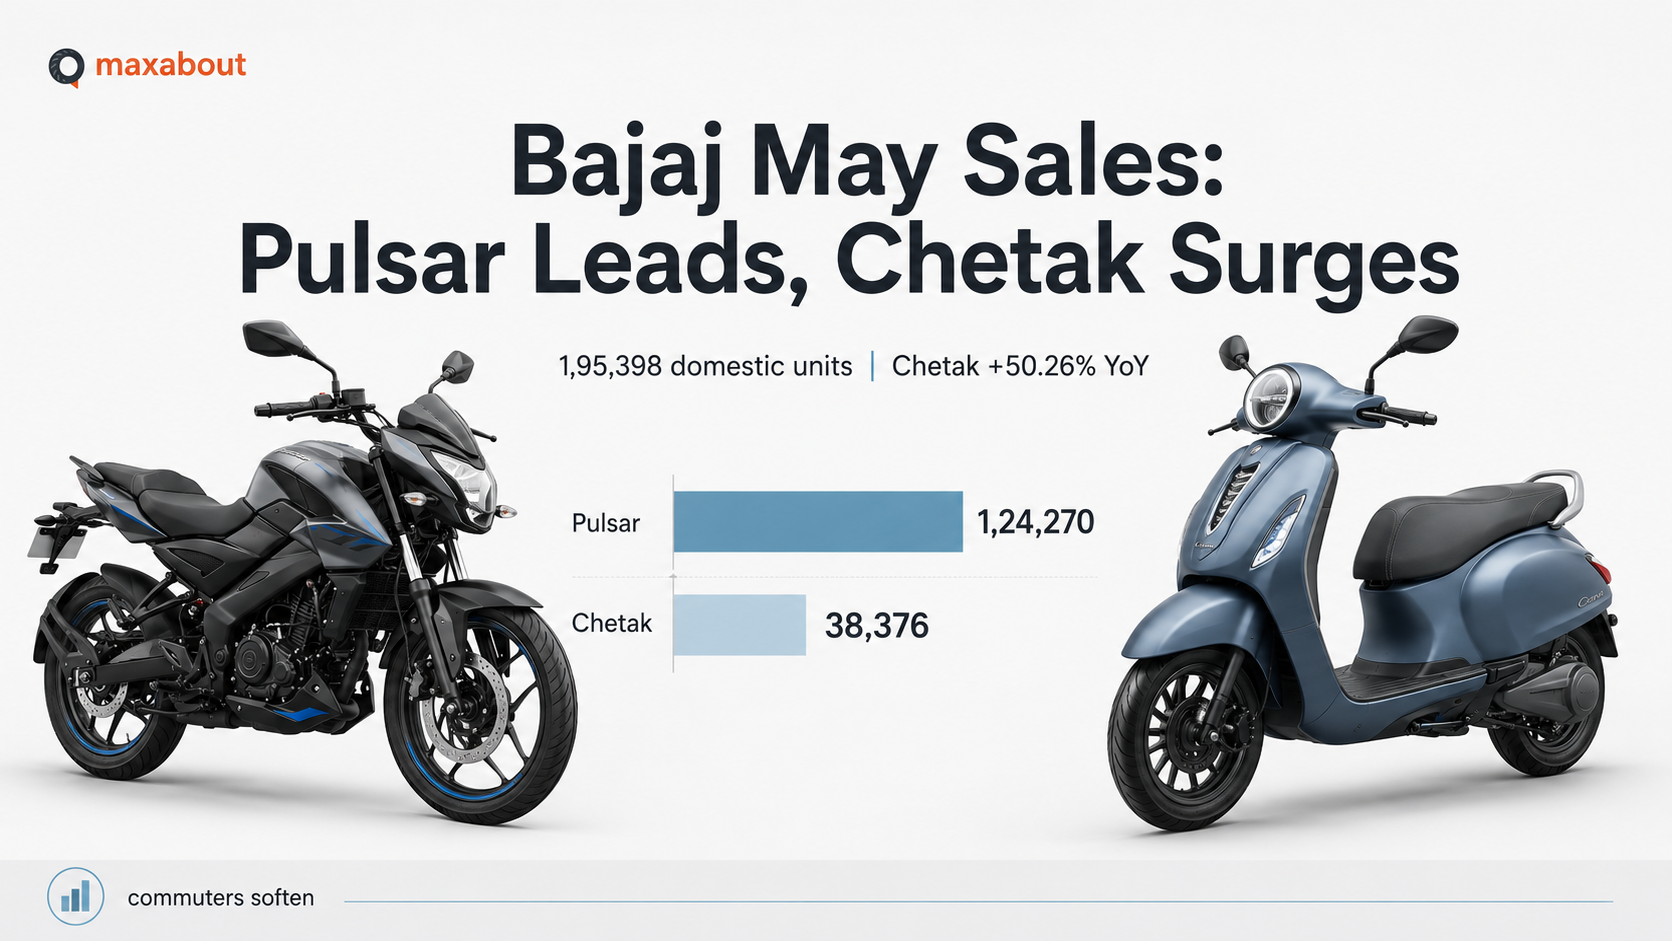
Bajaj Sales Breakup May 2026: Pulsar and Chetak Drive 9 Percent Domestic Two-Wheeler Growth
Read More
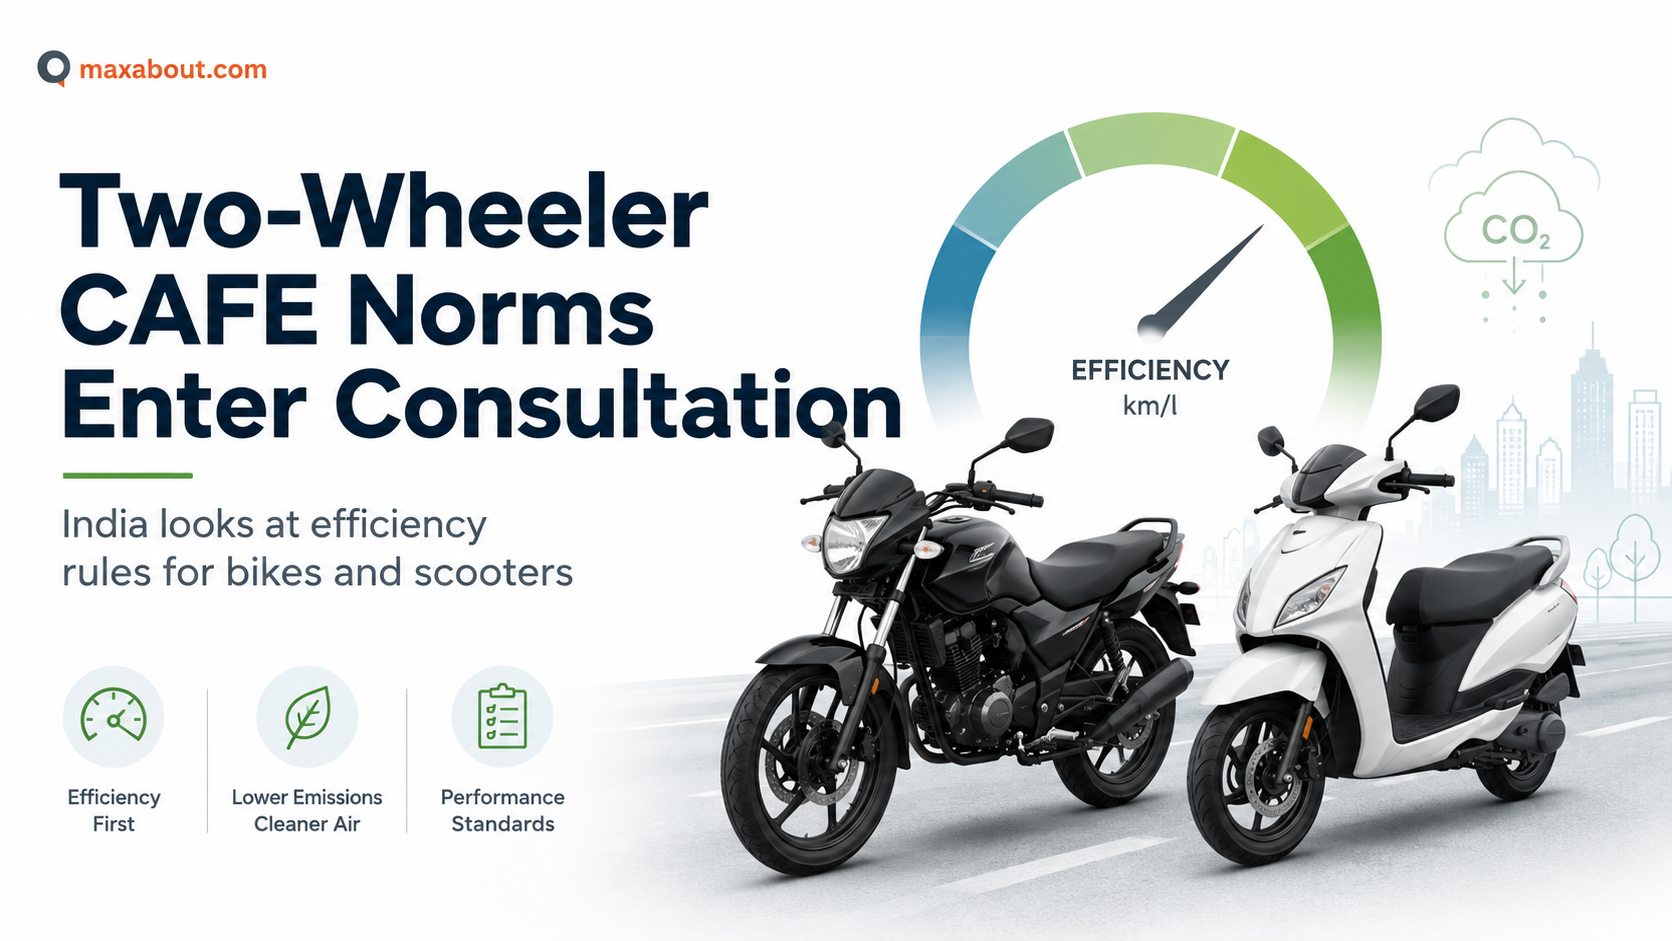
Two-Wheeler CAFE Norms India: Bike And Scooter Efficiency Rules Enter Consultation
Read More
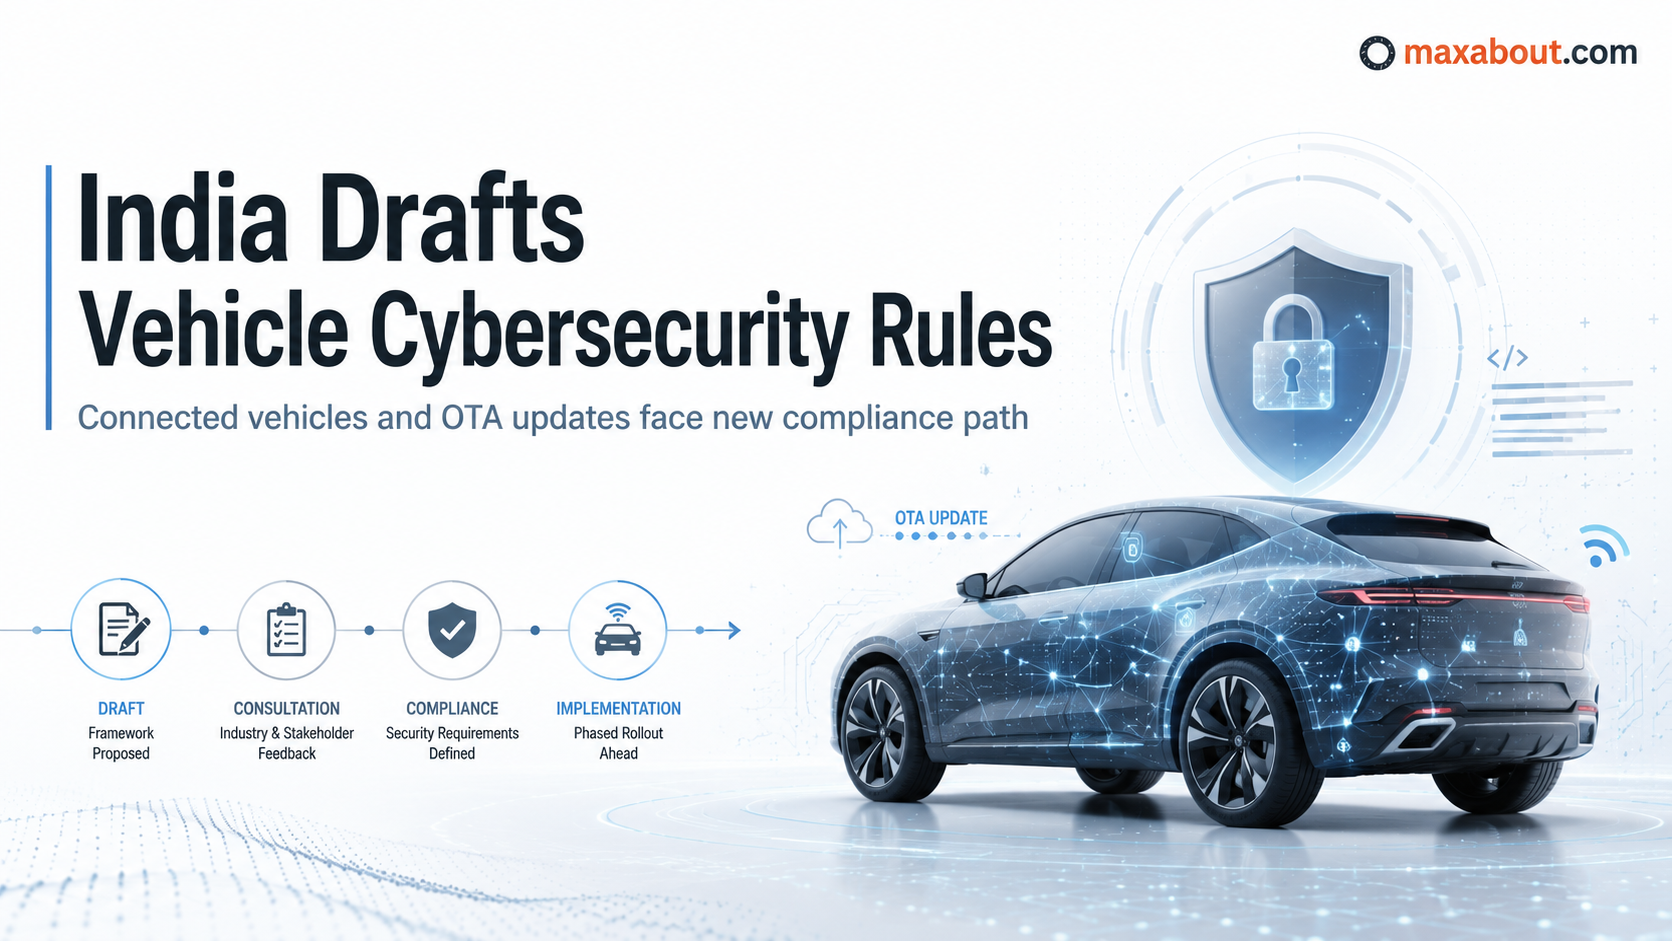
India Mandates Cybersecurity & Software Update Rules for Connected Vehicles: MoRTH Issues New Draft
Read More
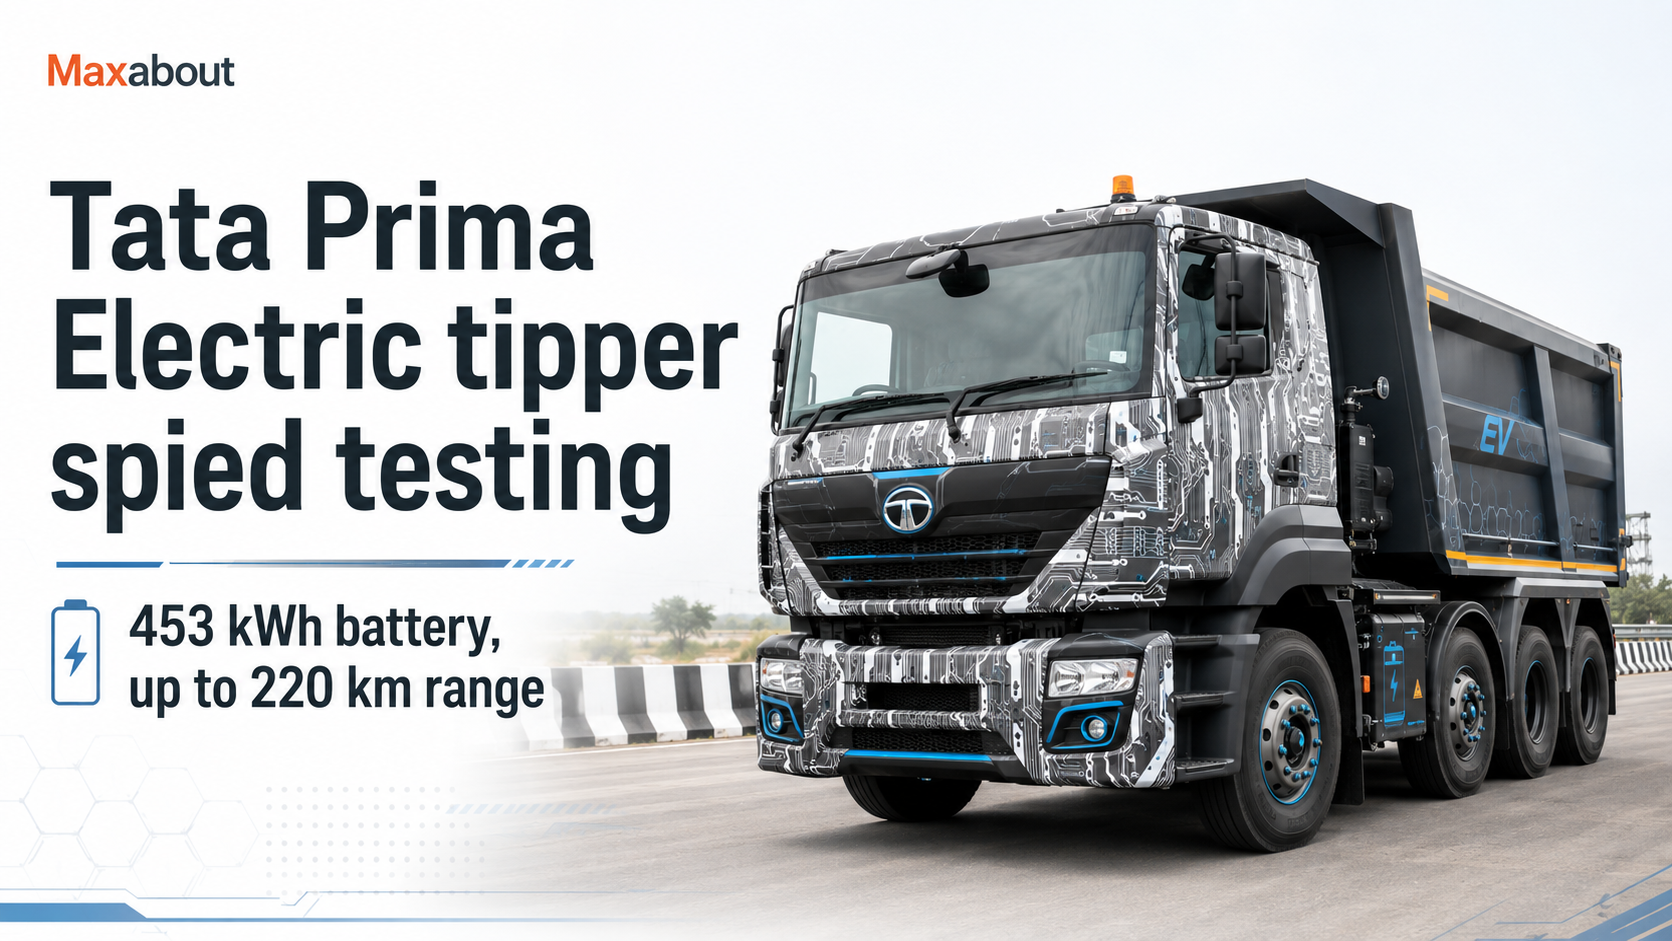
Tata Prima Electric Tipper Truck Spied Testing: Check Battery, Range, and Expected Launch
Read More

JSW Motors Brand Launch Explained: Portfolio, Upcoming Models, and India Strategy
Read More
Showing 1-20 of 3799 articles
Showing 20 of 3799 articles for "a-comprehensive-guide-on-how-to-safely-jump-start-your-vehicle"